Creating and attaching a Persistent disk Compute Engine Instance
- Create & connect to compute engine instance

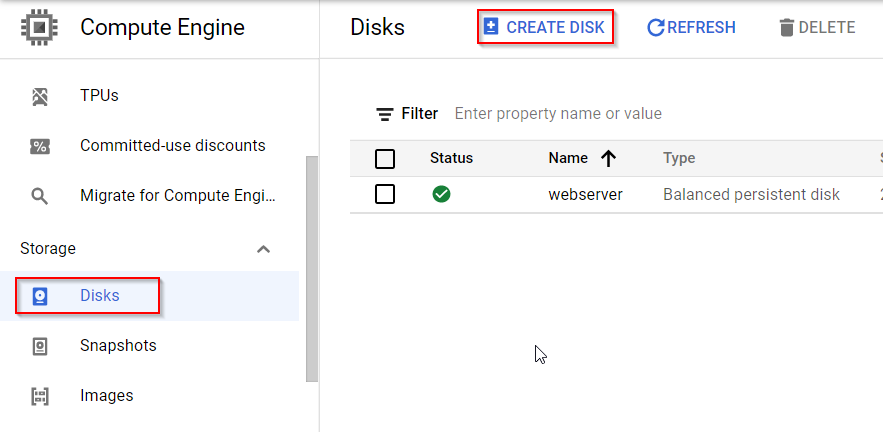
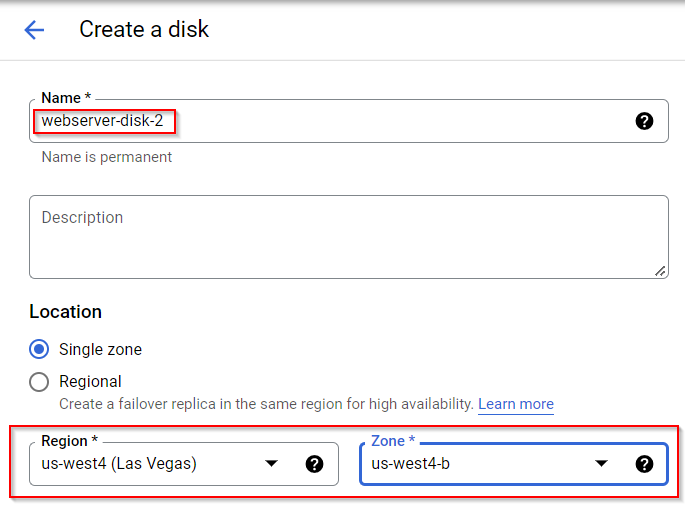
- You can put the disk Name and you can select the right region and the zone
Note: Make sure that the zone matches the zone where your compute engine instance is created
In Disk Source section you can define that you are creating a blank disc or you’re creating this disc from a snapshot, for the purpose of this demo we will create a blank disc
You can select a Disk Type based on the usage of the disk so it would be a balance persistent disk or it would be in standard persistent disk based on the use case
You can also define the Disk Size, for the purpose of this demo you can keep the size 10 GB
You can disable the snapshot for this demo
You can leave the Encryption setting as default
Finally you can click on the Create button

- Now click on the compute engine instance
- On the instant page click on the Edit button
- No scroll all the way down to the Additional Disks section
And click on Attach Existing Disk since we have already created a disk you would be attaching the same disk
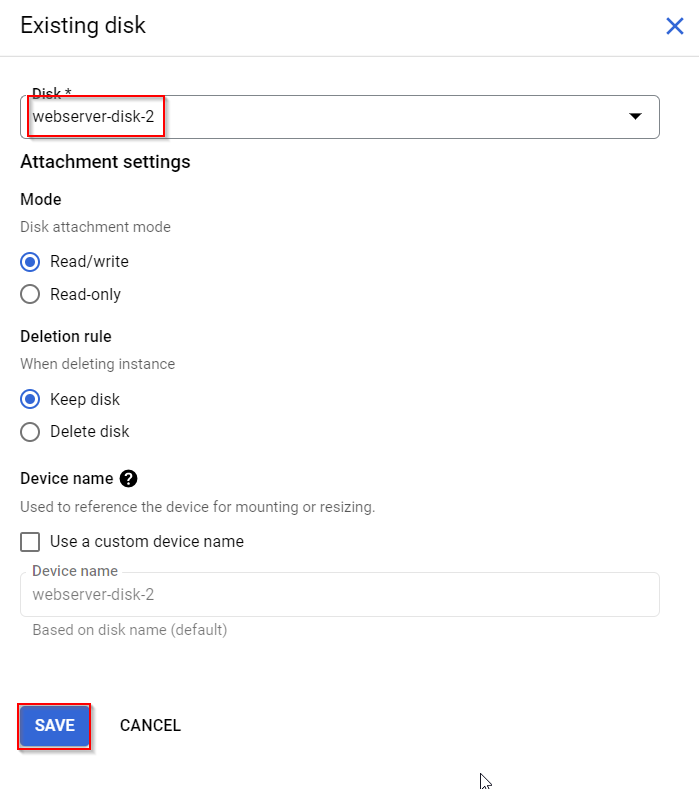
- Now in the existing disk dialog box select the disk from the dropdown menu which you have already created and then click on the Save button

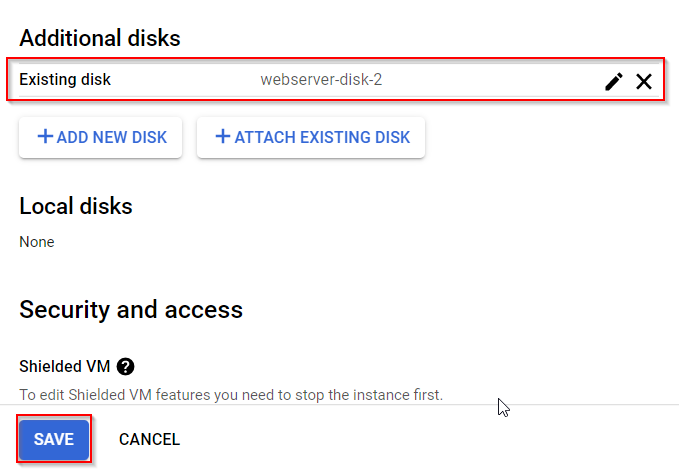
- Your additional disk would be visible and now click on the Save button

- Now connect SSH terminal of your Compute Engine instance
- In the terminal, use the lsblk command to list the disks that are attached to your instance and find the disk that you want to format and mount.
sudo lsblk
- Format the disk using the mkfs tool. This command deletes all data from the specified disk, so make sure that you specify the disk device correctly.
You can use any file format that you need, but we recommend a single ext4 file system without a partition table. You can increase the size of your disk later without having to modify disk partitions.
To maximize disk performance, use the recommended formatting options in the -E flag. It is not necessary to reserve space for the root volume on this secondary disk, so specify -m 0 to use all of the available disk space.sudo mkfs.ext4 -m 0 -E lazy_itable_init=0,lazy_journal_init=0,discard /dev/sdb
- Create a directory that serves as the mount point for the new disk on the VM. You can use any directory. The following example creates a directory under /mnt/disks/.
sudo mkdir -p /mnt/disks/datadisk
- Use the mount tool to mount the disk to the instance, and enable the discard option:
sudo mount -o discard,defaults /dev/sdb /mnt/disks/datadisk
- Configure read and write permissions on the disk. For this example, grant write access to the disk for all users.
sudo chmod a+w /mnt/disks/datadisk
- Writing some files to the disk
cd /mnt/disks/datadisk
touch file1.txt file2.txt file3.txt
- The disk is mounted or attached to your compute engine instance
- You can keep the compute engine instance And persistent disk if you want to continue the next demo
Tag:Google Cloud


