Create ARM templates with Visual Studio Code
To complete this lab, you need Visual Studio Code, with the Azure Resource Manager tools extension installed. You also need either the Azure CLI or the Azure PowerShell module installed and authenticated.
- Create and open with Visual Studio Code a new file named azuredeploy.json. Enter
arminto the code editor, which initiates Azure Resource Manager snippets for scaffolding out an ARM template. - Select
arm!to create a template scoped for an Azure resource group deployment.

- This snippet creates the basic building blocks for an ARM template.

- Place the cursor in the template resources block, type in
storage, and select the arm-storage snippet.
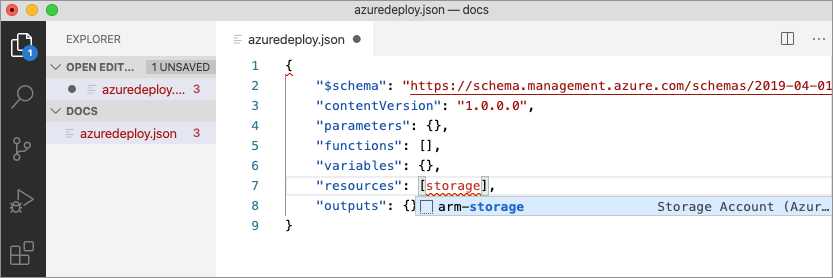
- This action adds a storage resource to the template.
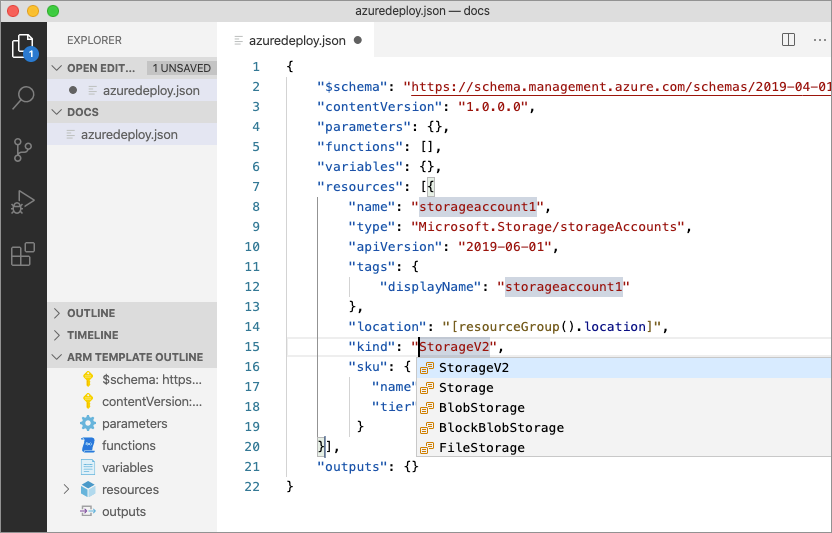
- The tab key can be used to tab through configurable properties on the storage account.
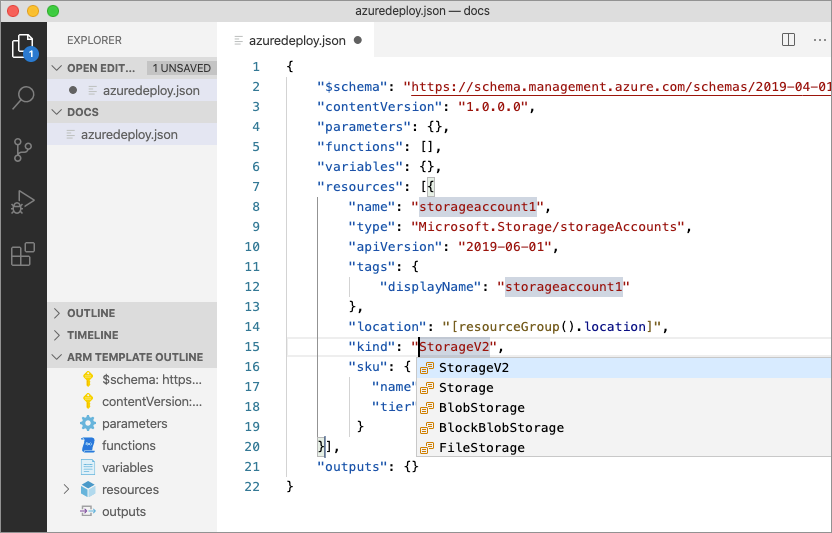
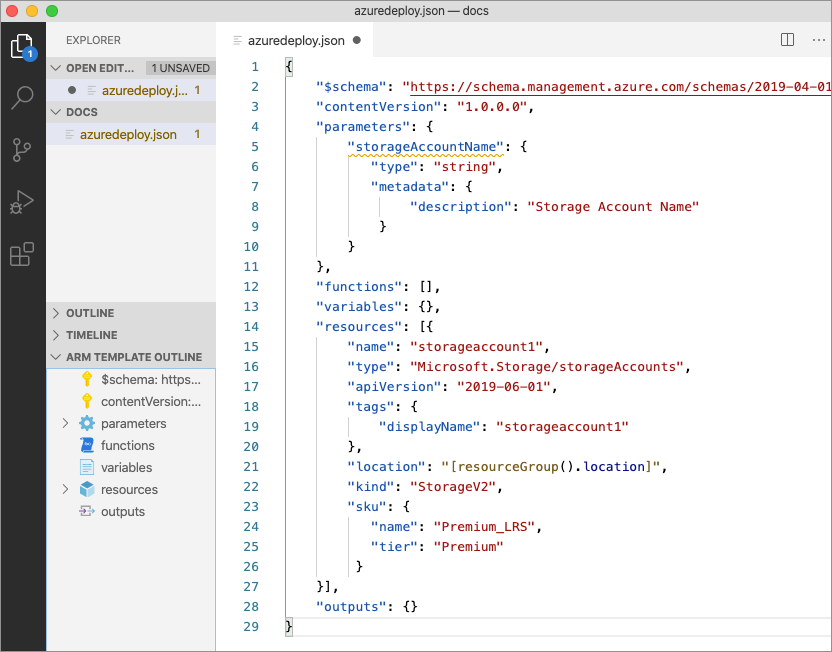
- Place your cursor in the parameters block, add a carriage return, type
", and then select thenew-parametersnippet. This action adds a generic parameter to the template.
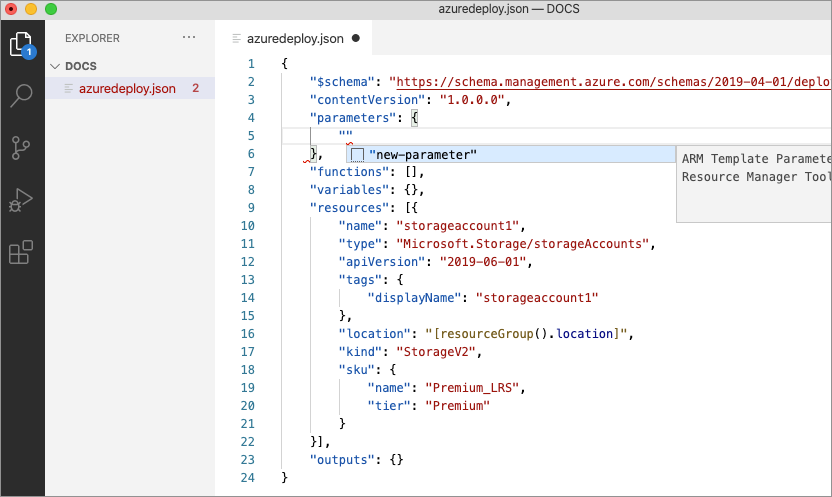
- Update the name of the parameter to
storageAccountNameand the description toStorage Account Name.
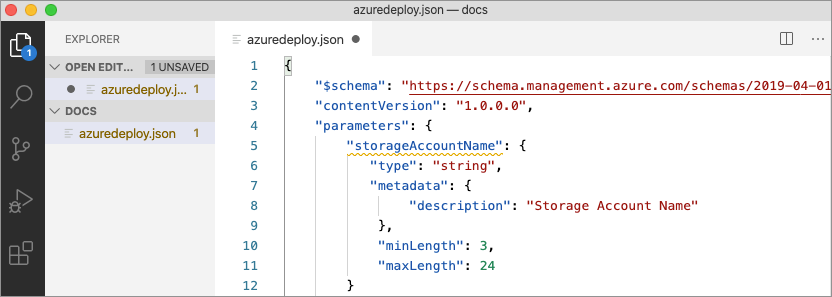
- Azure storage account names have a minimum length of 3 characters and a maximum of 24. Add both
minLengthandmaxLengthto the parameter and provide appropriate values.
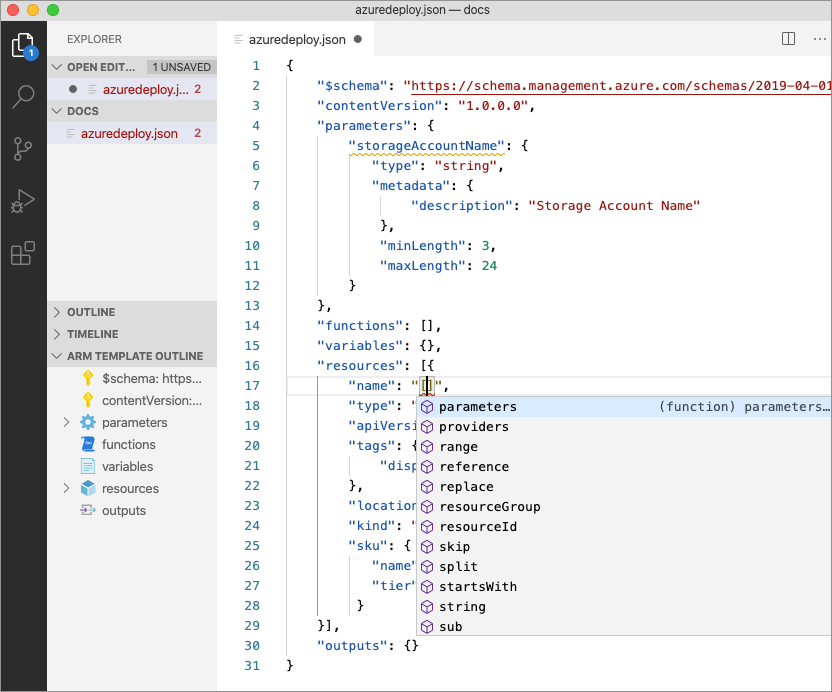
- Now, on the storage resource, update the name property to use the parameter. To do so, remove the current name. Enter a double quote and an opening square bracket
[, which produces a list of ARM template functions. Select parameters from the list.
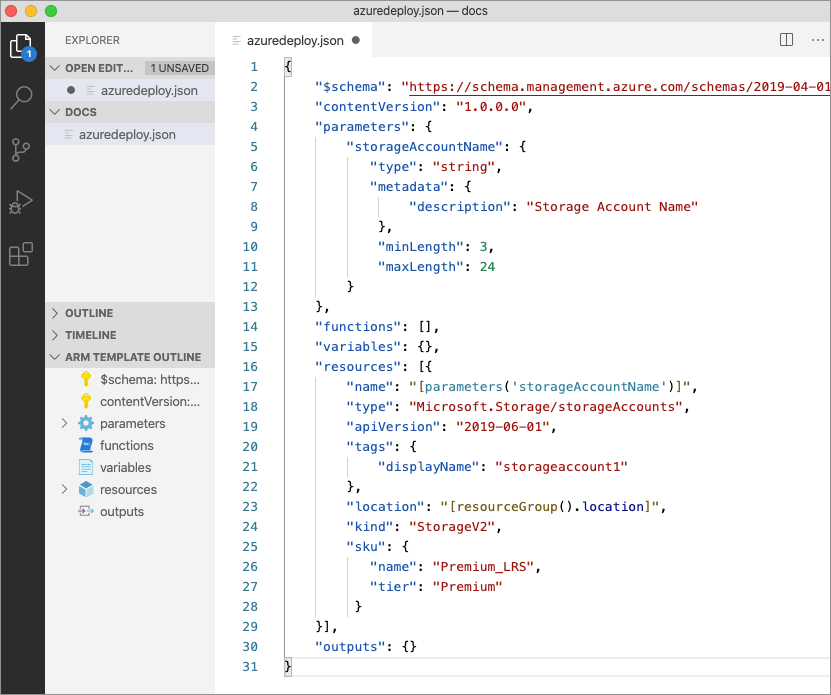
- Entering a single quote
'inside of the round brackets produces a list of all parameters defined in the template, in this case, storageAccountName. Select the parameter.
- The extension makes it easy to create a parameter file from your existing templates. To do so, right-click on the template in the code editor and select
Select/Create Parameter File.
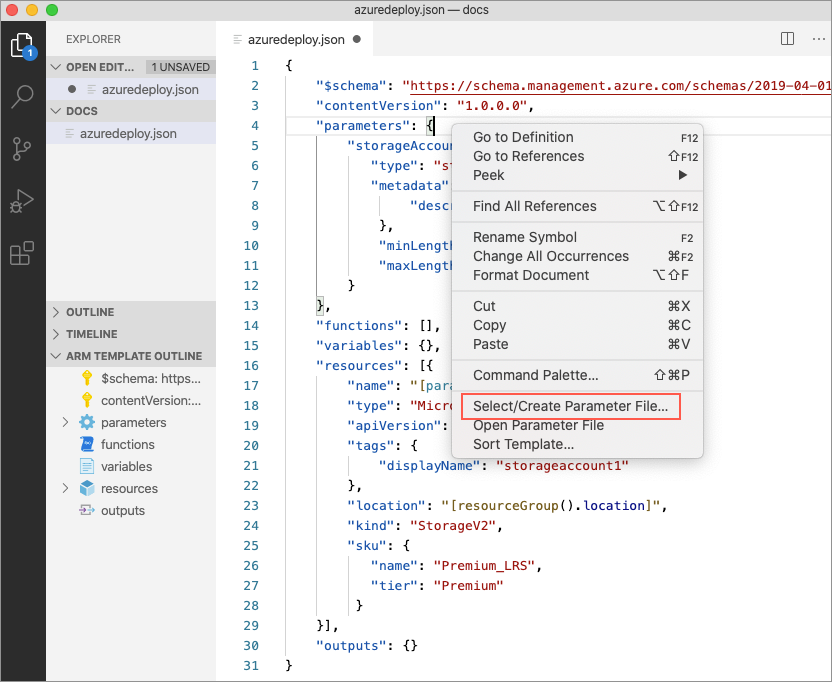
- Select
New>All Parameters> Select a name and location for the parameter file.

- This action creates a new parameter file and maps it with the template from which it was created. You can see and modify the current template/parameter file mapping in the Visual Studio Code status bar while the template is selected.

- Now that the parameter file has been mapped to the template, the extension validates both the template and parameter file together. To see this validation in practice, add a two-character value to the
storageAccountNameparameter in the parameter file and save the file.
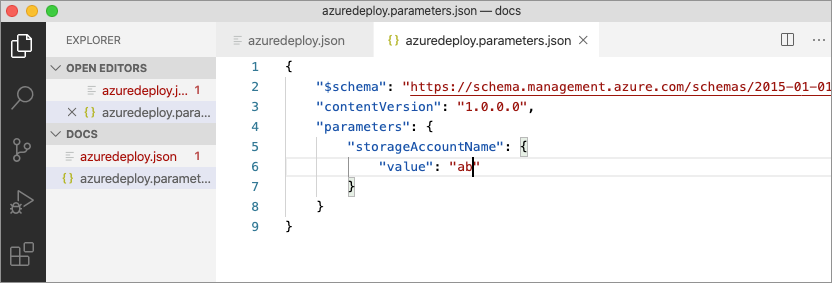
- Navigate back to the ARM template and notice that an error has been raised indicating that the value doesn’t meet the parameter criteria.
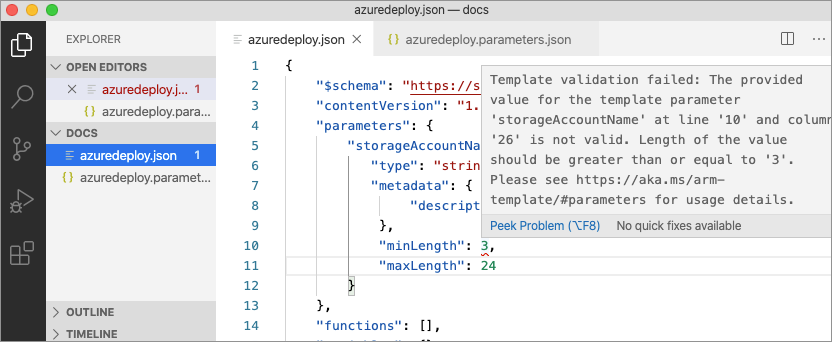
Update the value to something appropriate, save the file, and navigate back to the template. Notice that the error on the parameter has been resolved. - Open the integrated Visual Studio Code terminal using the
ctrl+`key combination and use either the Azure CLI or Azure PowerShell module to deploy the template.az group create --name arm-vscode --location eastus az deployment group create --resource-group arm-vscode --template-file azuredeploy.json --parameters azuredeploy.parameters.json
Tag:Azure
