Create a storage account
- Sign in to the Azure portal.
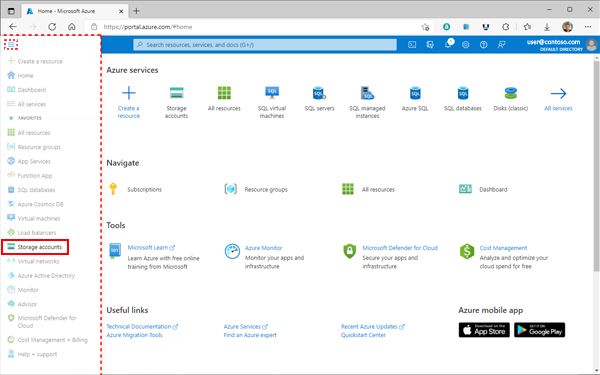
- From the left portal menu, select Storage accounts to display a list of your storage accounts. If the portal menu isn’t visible, click the menu button to toggle it on.
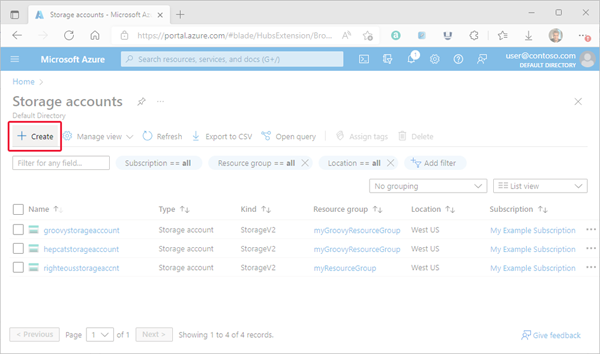
- On the Storage accounts page, select Create.
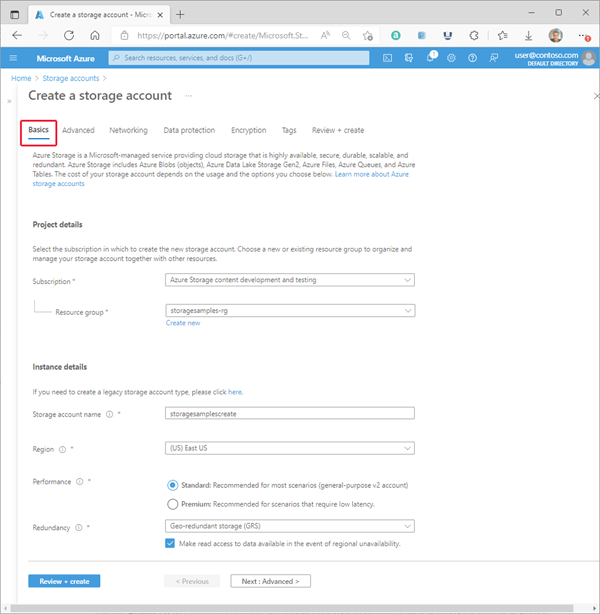
- On the Basics tab, provide the essential information for your storage account. After you complete the Basics tab, you can choose to further customize your new storage account by setting options on the other tabs, or you can select Review + create to accept the default options and proceed to validate and create the account.
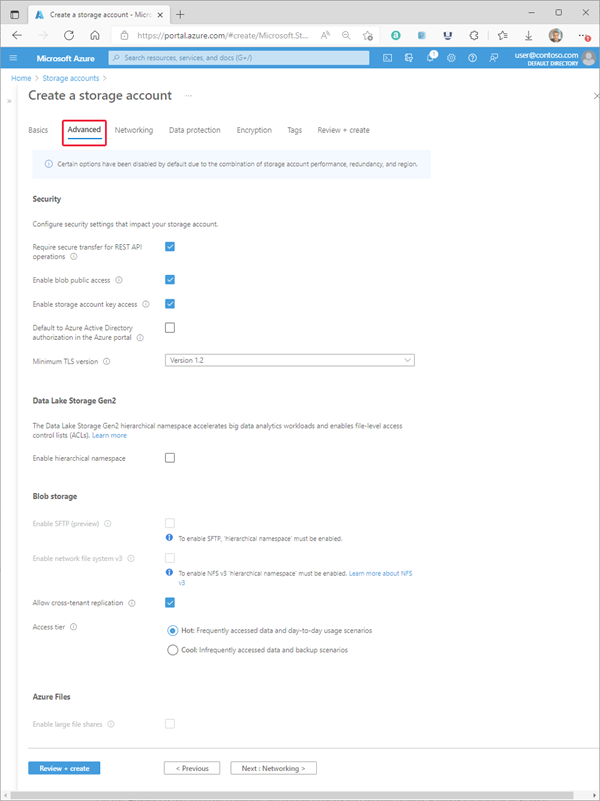
- On the Advanced tab, you can configure additional options and modify default settings for your new storage account. Some of these options can also be configured after the storage account is created, while others must be configured at the time of creation.
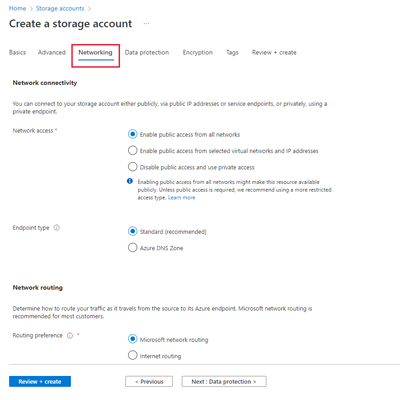
- On the Networking tab, you can configure network connectivity and routing preference settings for your new storage account. These options can also be configured after the storage account is created.
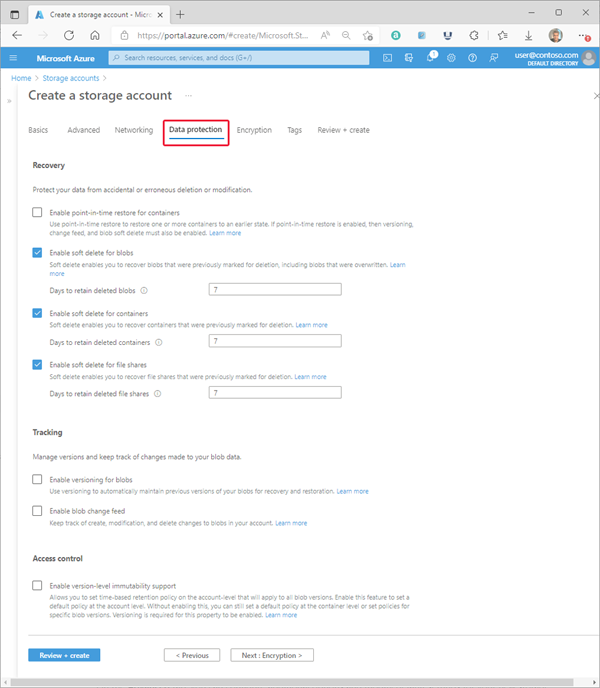
- On the Data protection tab, you can configure data protection options for blob data in your new storage account. These options can also be configured after the storage account is created.
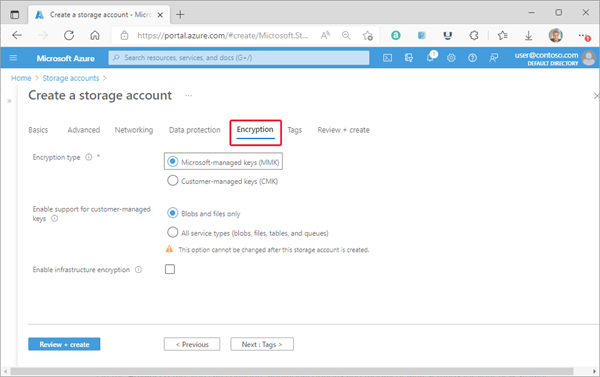
- On the Encryption tab, you can configure options that relate to how your data is encrypted when it is persisted to the cloud. Some of these options can be configured only when you create the storage account.
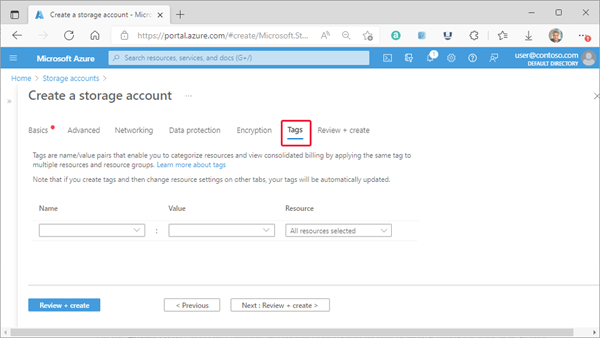
- On the Tags tab, you can specify Resource Manager tags to help organize your Azure resources.
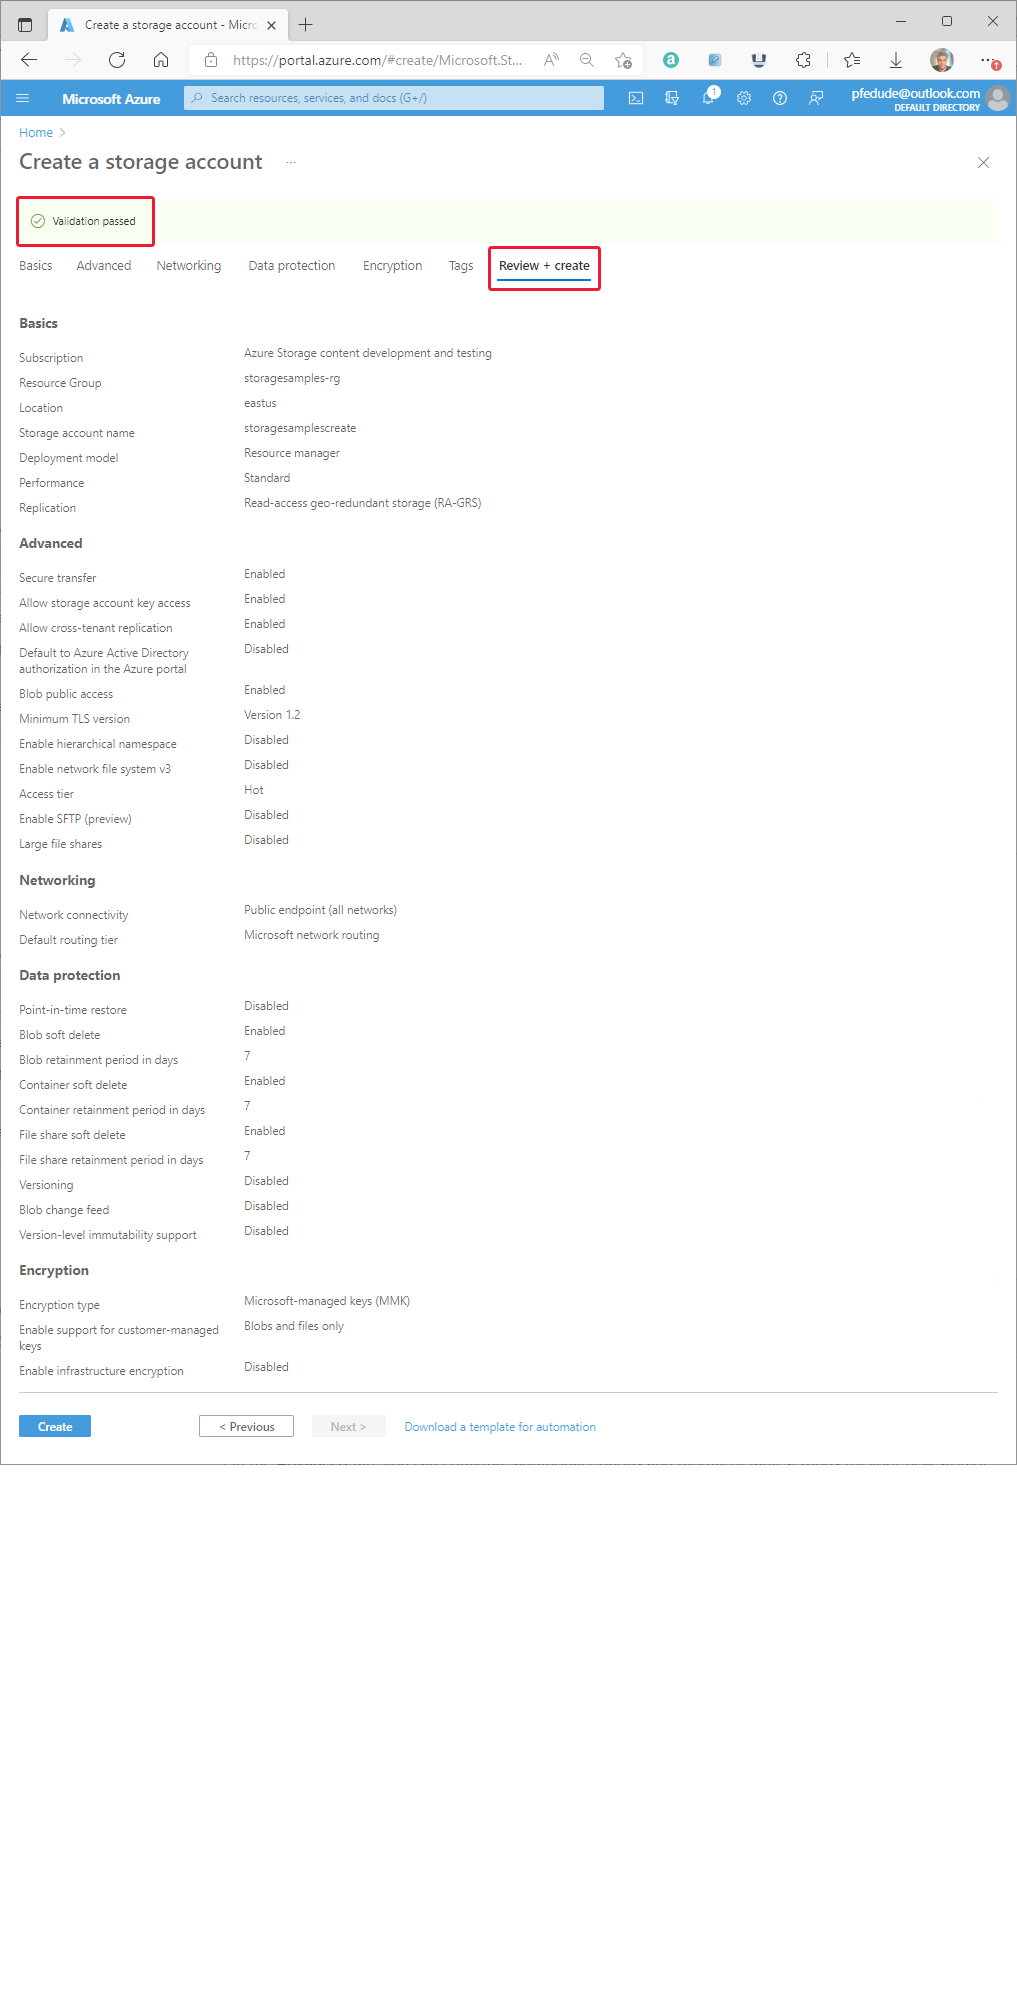
- When you navigate to the Review + create tab, Azure runs validation on the storage account settings that you have chosen. If validation passes, you can proceed to create the storage account.
Tag:Azure
