Using Metadata Automation in Compute Engine
- Go to the compute engine service page and then click on Create Instance
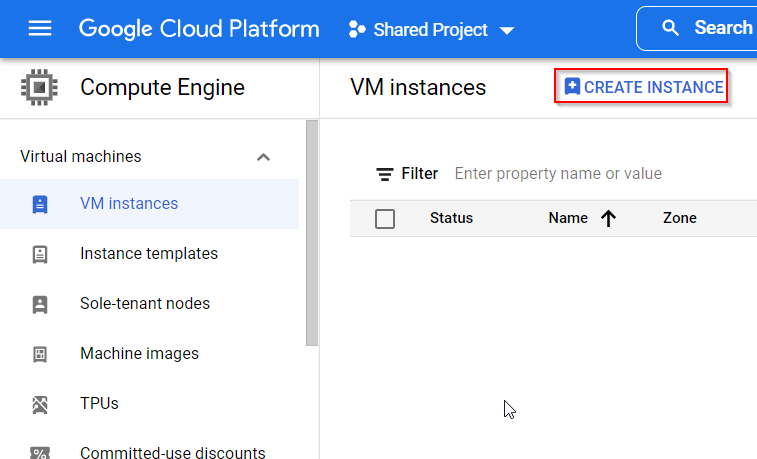
- Now on the create instance page you can fill in a lot of details about your instance so let’s start
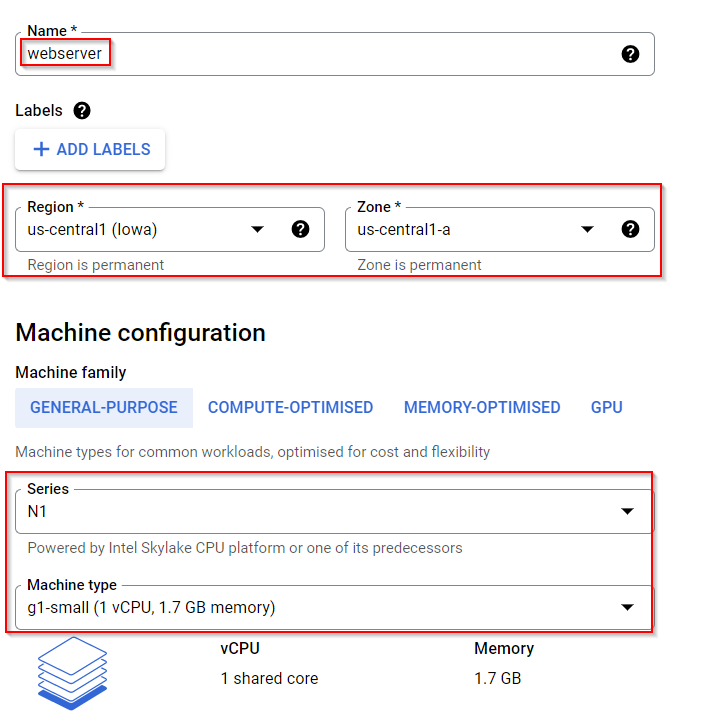
Name: Here you can enter the name of the instance, for example enter the name of the instance as webserver
Label: Here you can add labels to the instance so labels are key-value pair, for example environment: prod
Then you can select the Machine Family for your instance
For the purpose of this demo you will select the Machine series as N1 and machine type as g1-small
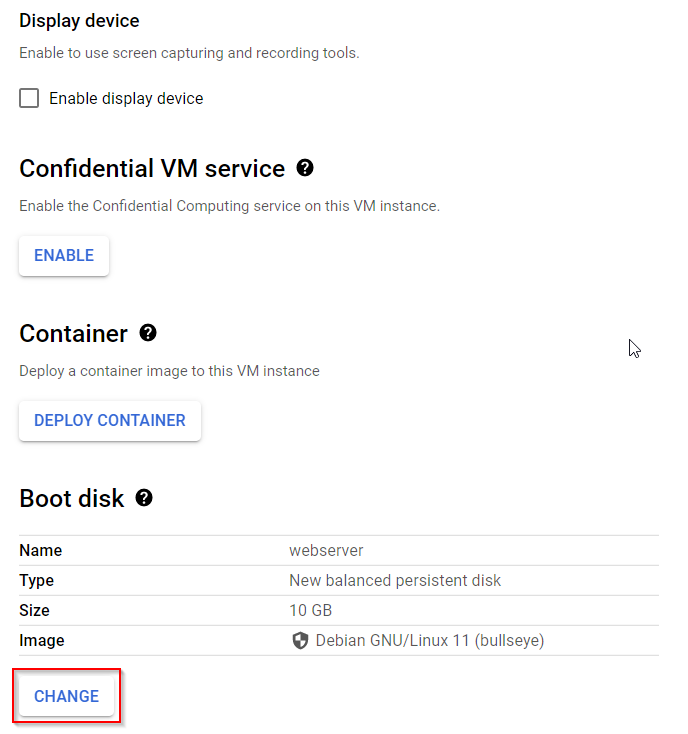
- In this section you would be changing the boot disk
Boot disk is nothing but the operating system disk so whenever you change the boot disk you are ultimately changing the operating system image
So here you will click on Change
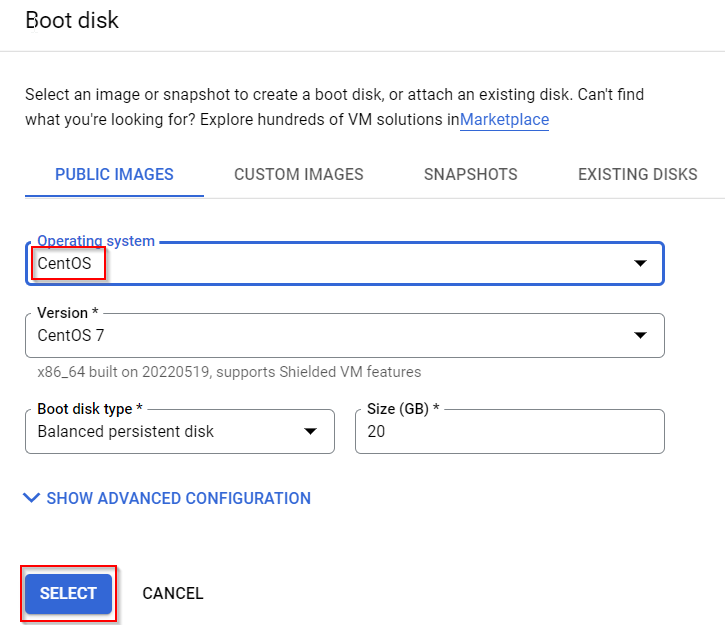
- And you be selecting the operating system is CentOS then you will click on Select
- Now scroll all the way down to click on NETWORKING, DISKS, SECURITY MANAGEMENT, SOLE-TENANCY
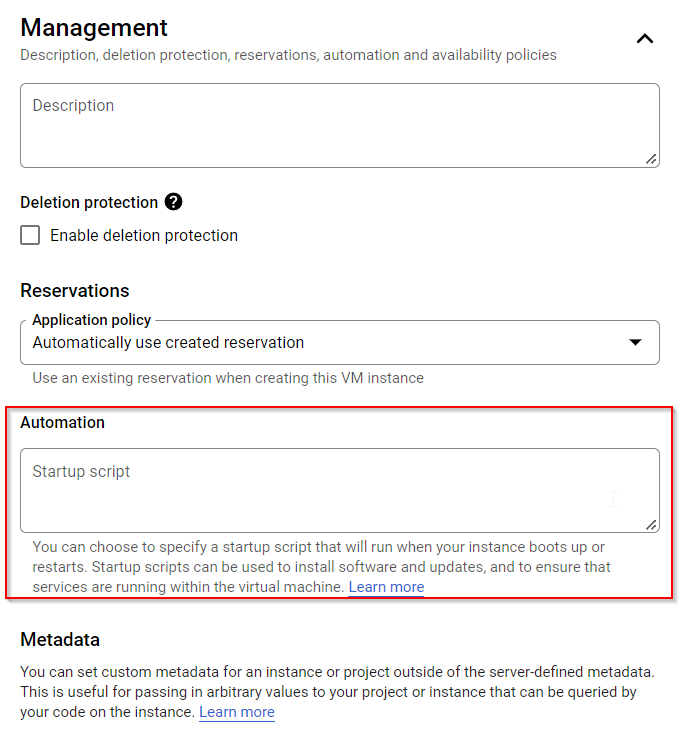
- Now click on the Management section and inside automation script input box, put below script
#!/bin/bash
sudo su
yum install httpd -y
service httpd start
chkconfig httpd on
echo "Hello World" > /var/www/html/index.html
Now click on Create - Now once the instance is created it will have the web-server installed you can check the output by putting the public IP address of this compute engine instance in a web browser
Tag:Google Cloud
